So, we had decided on an Instagram 13th Birthday Party for the princess. With the invites and the cake taken care of, I now had to look at the decor. Ideally, various photo-booths would have been in perfect sync with the theme. However, in modest Mumbai homes where space does not match the square feet rate you paid for, this poses a serious problem. I could have looked for a party hall, but then that would mean hiring professional services for elaborate setups. Cost, time and effort wise, way over budget. So, I decided the next best thing. Photo Backdrops and props. The stage area was divided between the living room, the dining area and the princess’s bedroom. And I was looking at transforming the home into a Selfie approved mode for 25 young ladies. As of now, Level 3 – #CreativelyChallenged
I started with the princess’s bedroom. It already had a theme wall in place with the ‘Dream, Dance and Music’ words surrounded by shiny butterfly motifs. One wall housed the immovable study table while the other two had large window spaces. The window spaces could be done up into three backdrops, I concurred. The large window was divided into two backdrops, while the smaller window was reserved for one elaborate setup.
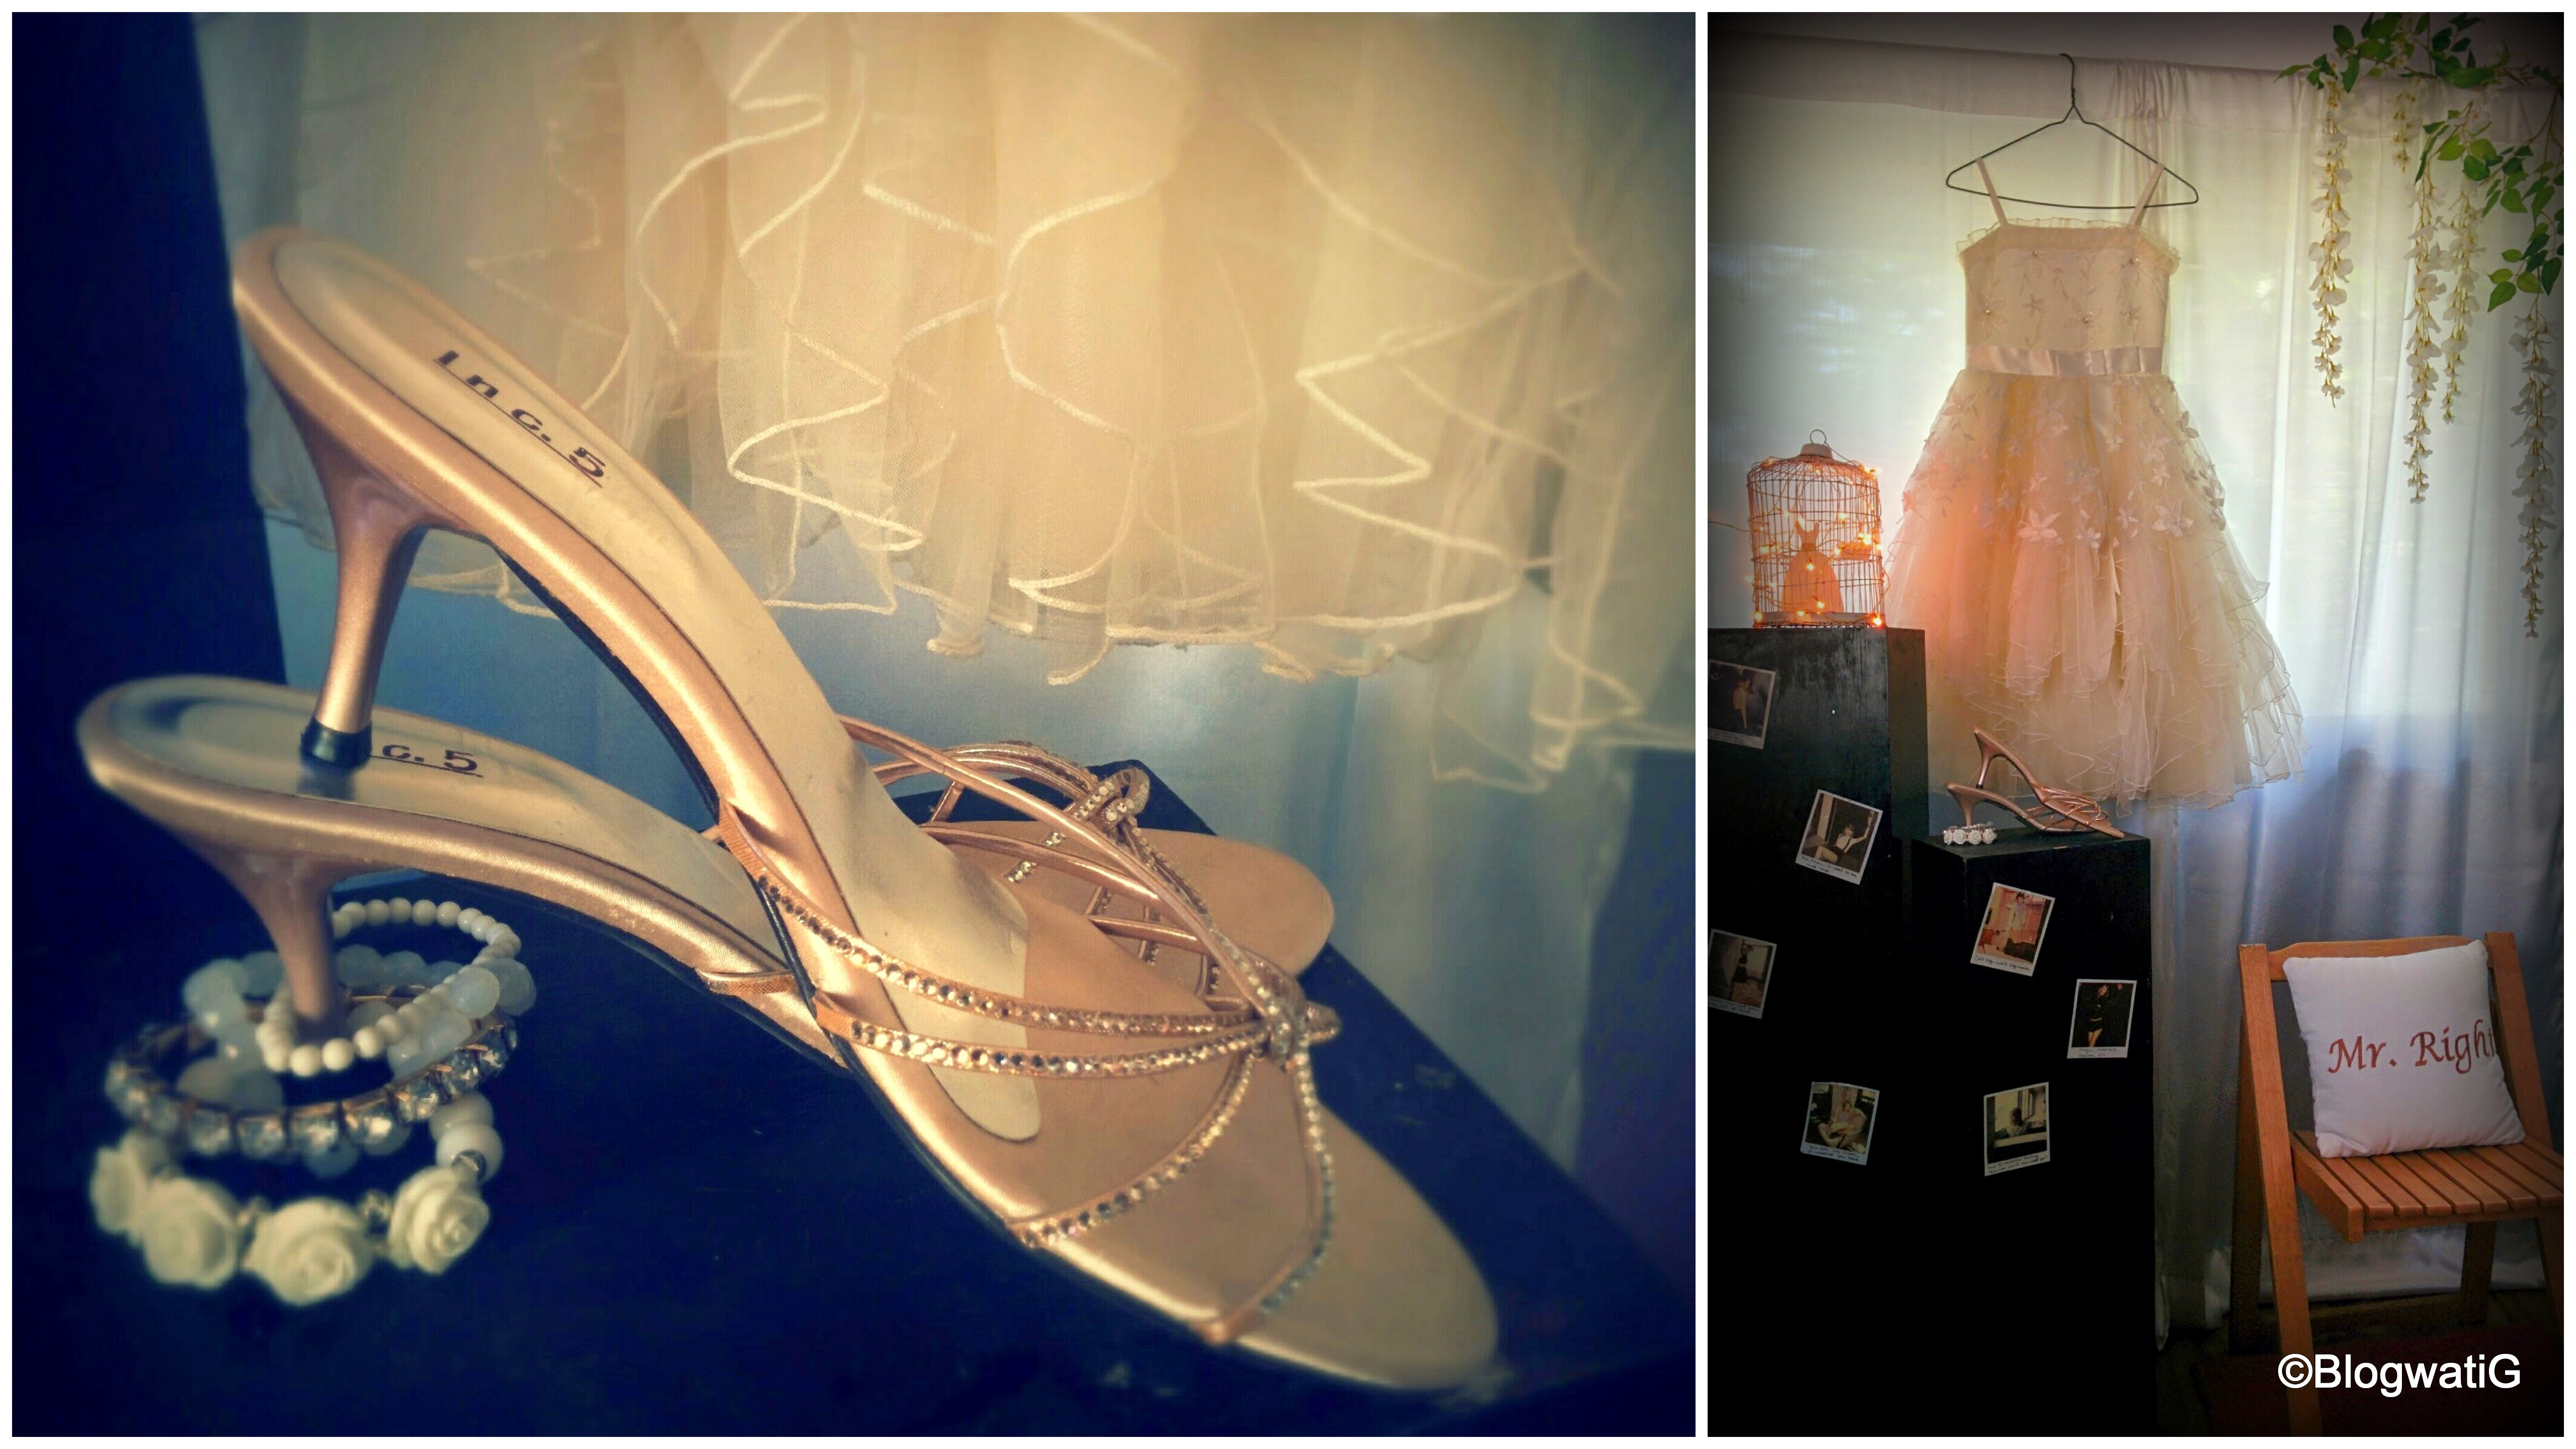
I chose the vintage theme for the singular set up. For that, simple satin curtains were used as a backdrop against which I hung the princess’s communion dress. Her bookshelves were turned around and used as a pin-up board for some Polaroid shots. Atop was placed a birdcage with fairy lights that held her communion invite (which incidentally was in the shape of a gown). My diamante slip-on heels caressed by multiple bracelets added the panache. A chair on a hot pink rug with a ‘Mr. Right’ cushion thrown for effect, topped by a bunch of flowers that completed the ethereal look. The Vintage Backdrop was looking delish, even if I say so my self.

The larger window was divided into two backdrops, as I mentioned earlier. One, shimmer and shine glitter curtains to be paired with handheld props and the other, a floral Alice in wonderland kinda look that was inspired from here. The giant flowers had a midnight blue curtain as a backdrop, from the summit of which pink flowers cascaded down gently. Pretty purple stick-on butterflies added the finishing touch. The flowers were made out of red and orange kite paper. The stems were mesh wire wound with masking tape around a plastic cup that had white cement mixture to weigh it down. Green colour tape was then wrapped around the brown stems for added support. Next, I hot-glued the flowers to the stems and voila, we were good to go.

The dining area has a faux-pas mantelpiece which was utilized for the next backdrop. This one took quite some time, but it was worth it. I decided to go with a city skyline on a moonlit night. So, I did some freehand drawing of a cityscape on two black chart papers. Once I cut out the template, I turned it over and began hot gluing square glass pieces to resemble lit up windows, finally letting it dry overnight. Two inch thermocal pieces were stuck at the back of the (heavy) chart paper for support, as I then hauled it over the mantelpiece. The thermocal pieces were hot glued unto the wall to hold up the backdrop. A circle cut from yellow paper made for the moon. And as easy at it sounds, with great deal of patience and perseverance I was done, finally. Phew!
And there’s more……………….so, to be cont’d
Leave a Reply to blogwatig Cancel reply